Let me show you a very cool craft idea that you are going to like a lot. What we are going to do is create folded paper faces where the head can be of any color and the face will depict every emotion possible! This is best suited for children of 5-7yrs age and can be fun if as a child you are asked to use your creativity to come up with anything using such shapes and colors.
What You’ll Need
But, wait a minute, let’s get some things first. Here’s what you’ll need:
- Several pieces of coloured paper of varying sizes
- Scissors with the supervision of an adult
- Glue or a glue stick
- Markers or crayons
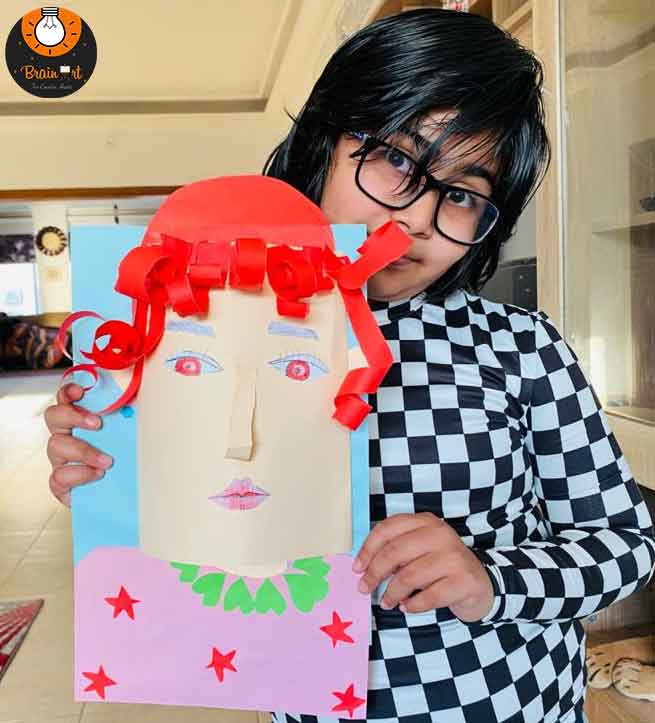
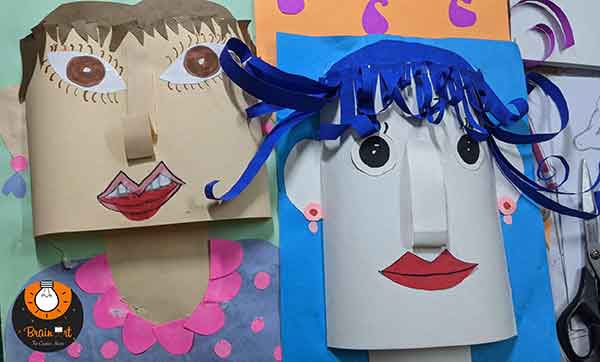
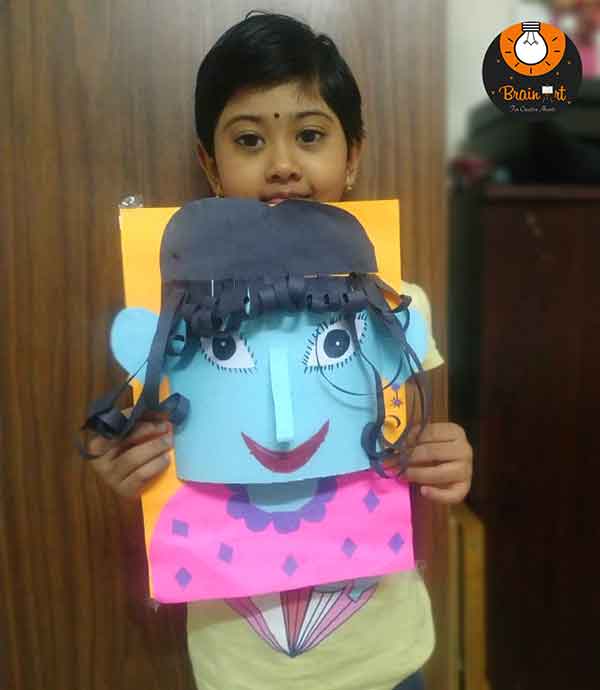
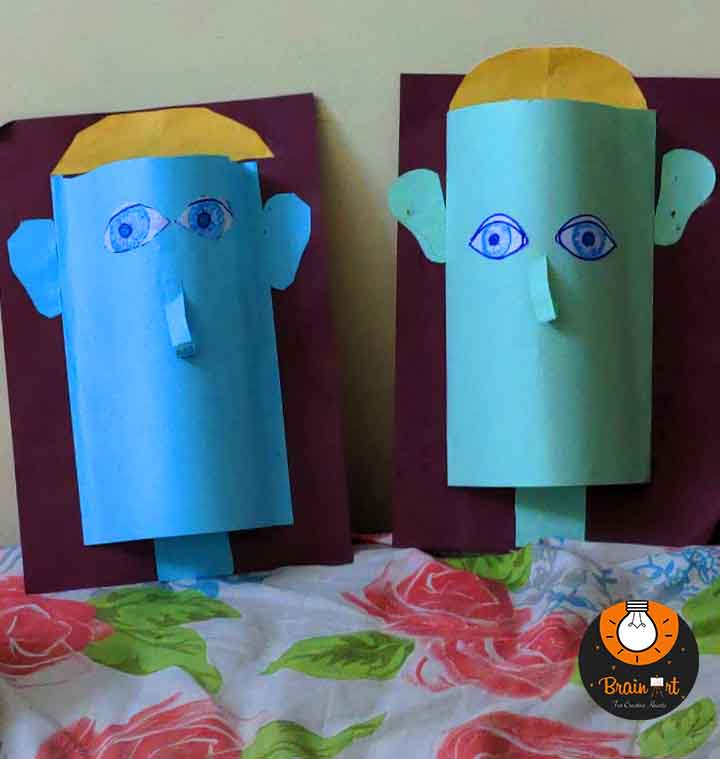
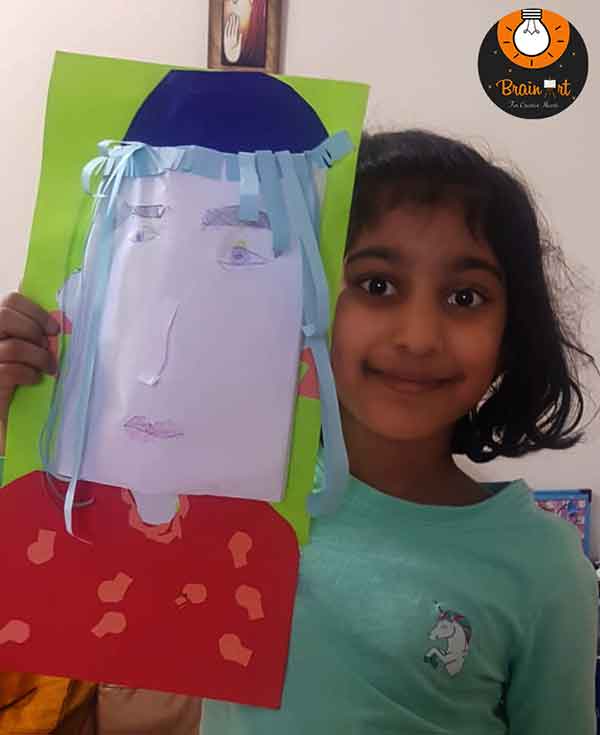
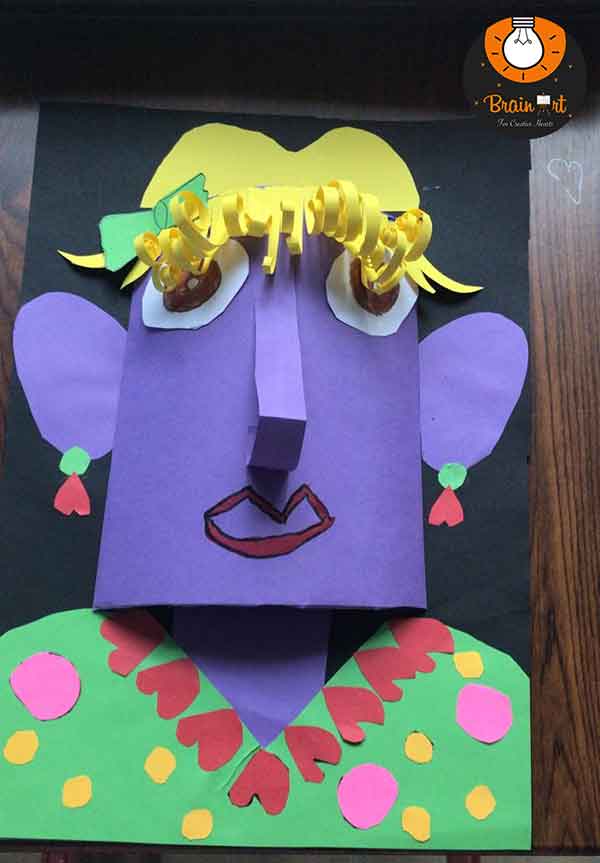
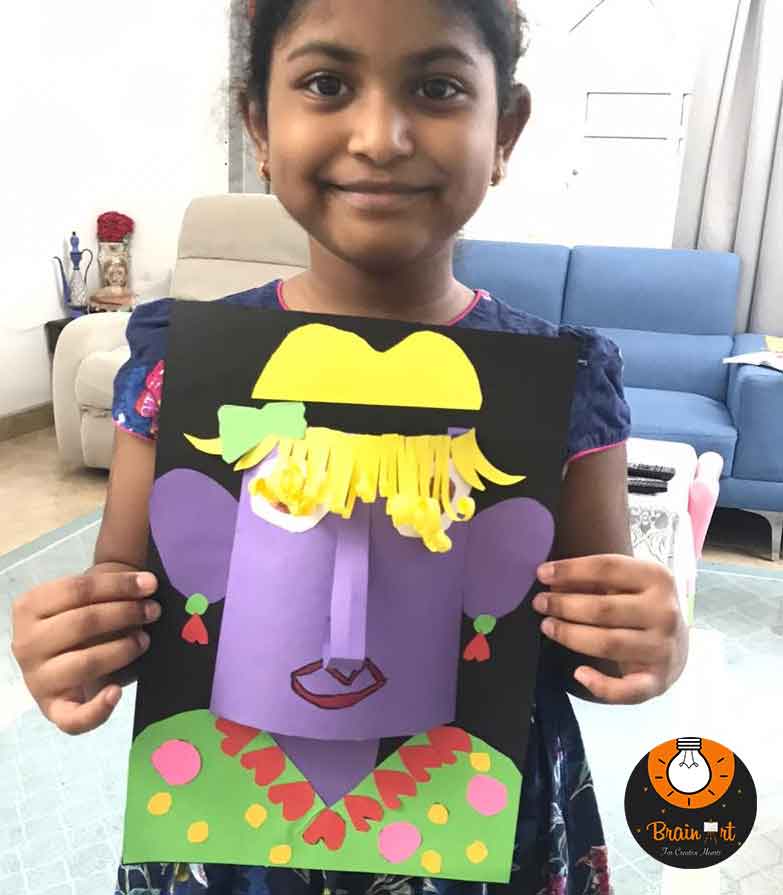
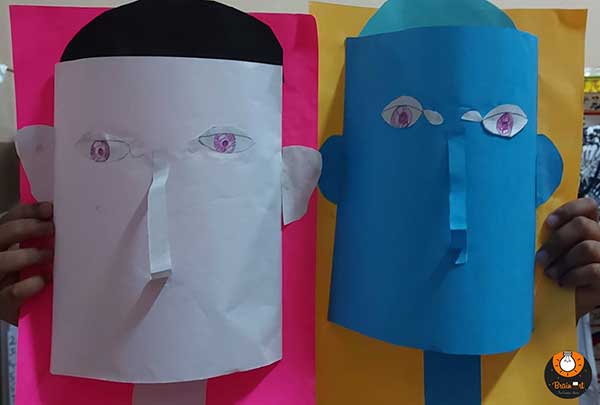
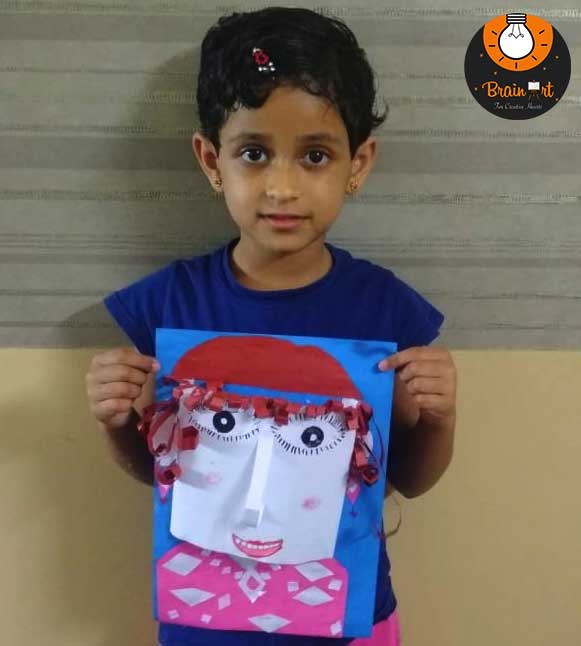
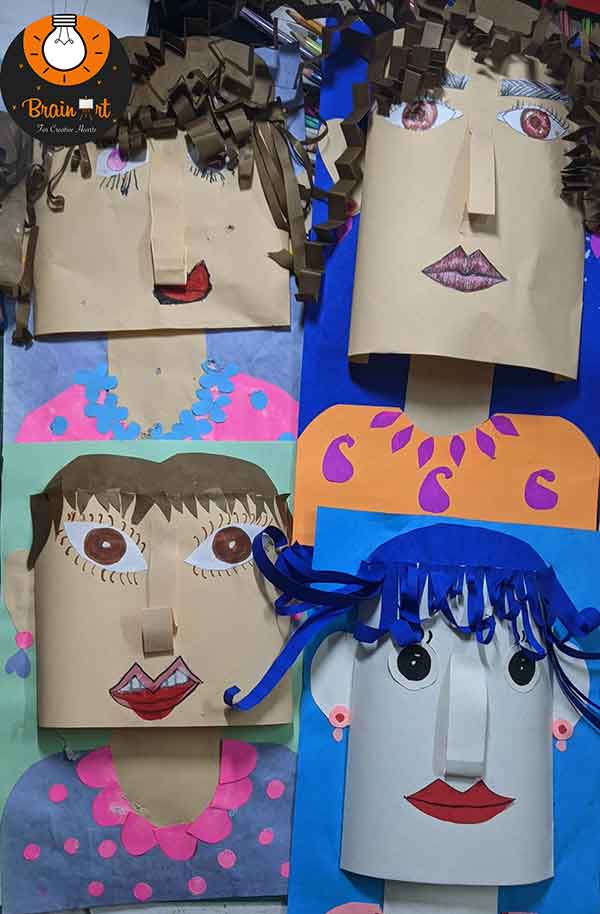
Step 1: Cutting Out the Shapes
First of all, choose some bright paper to produce the templates on which you will be tearing out the paper faces. The head can be rectangles which are squares or ovals, triangles or circles. The good news is you can actually increase or even reduce the sizes of these forms! As to the shape of the face, you decide whether to have a big round face or a small square face?
Next cut out the smaller shapes of the mouth, ears, nose as well as the eyes. Remember that the features of the face being differentiated involves the size and shape variations. This will allow you to show a number of emotions on your face. Depending on what expression you want to achieve, one can cut a wide smile or a small frown.
Step 2: Assembling the Paper Faces
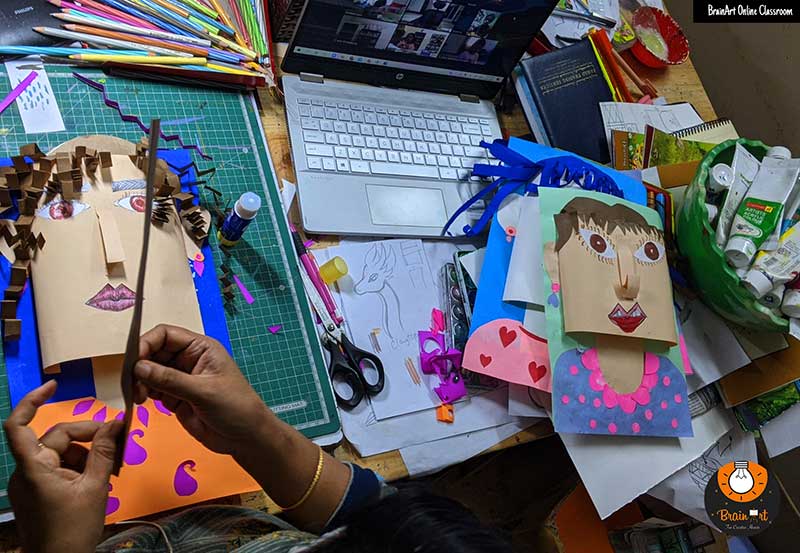
The fun part is about to begin: assembling your paper faces! First, stick the head form on a contrasting sheet of paper that will act as the base image. Thirdly put in the mouth, nose and eyes. Two, think of the look you would like to have on your face. Is it content, stunned, or sleepy? It is possible to indicate various feelings using the movements of your eyes or change the shape of your lips. Still think about the ears and, maybe, some hair? This way you can make the ‘brim’ of a hat by cutting a strip of paper or for wavy hair use very thin strips of paper. There are countless options!
Step 3: Adding the Final Touches
You are able to draw more with markers or crayons after your face is fused together with someone. It could be perhaps freckles on your face or rosy cheeks and please why not a mustache? Furthermore, the background of the application can be adjusted so that it depicts the facial expression of a person. If your face is happy, paint a happy sky. If it is a sleeping bag then maybe throw in a moon and stars.
Step 4: Show Off Your Expressions!
That’s it, you have completed your 3D paper face; try to consider the expression you made out of the paper. Does your face look joyful or concerned, dumb or maybe a little worried? This activity is quite useful for people because it explains how different shapes and colors can express different emotions.

2 thoughts on “Create Fun Paper Faces: A Craft Activity for Kids to Explore Expressions”
Comments are closed.